How I store dahlia tubers
It's about time to dig up your dahlia tubers. Below is my process. I really don't hate it that much, but we'll see how I feel this year after digging the most I've ever planted!
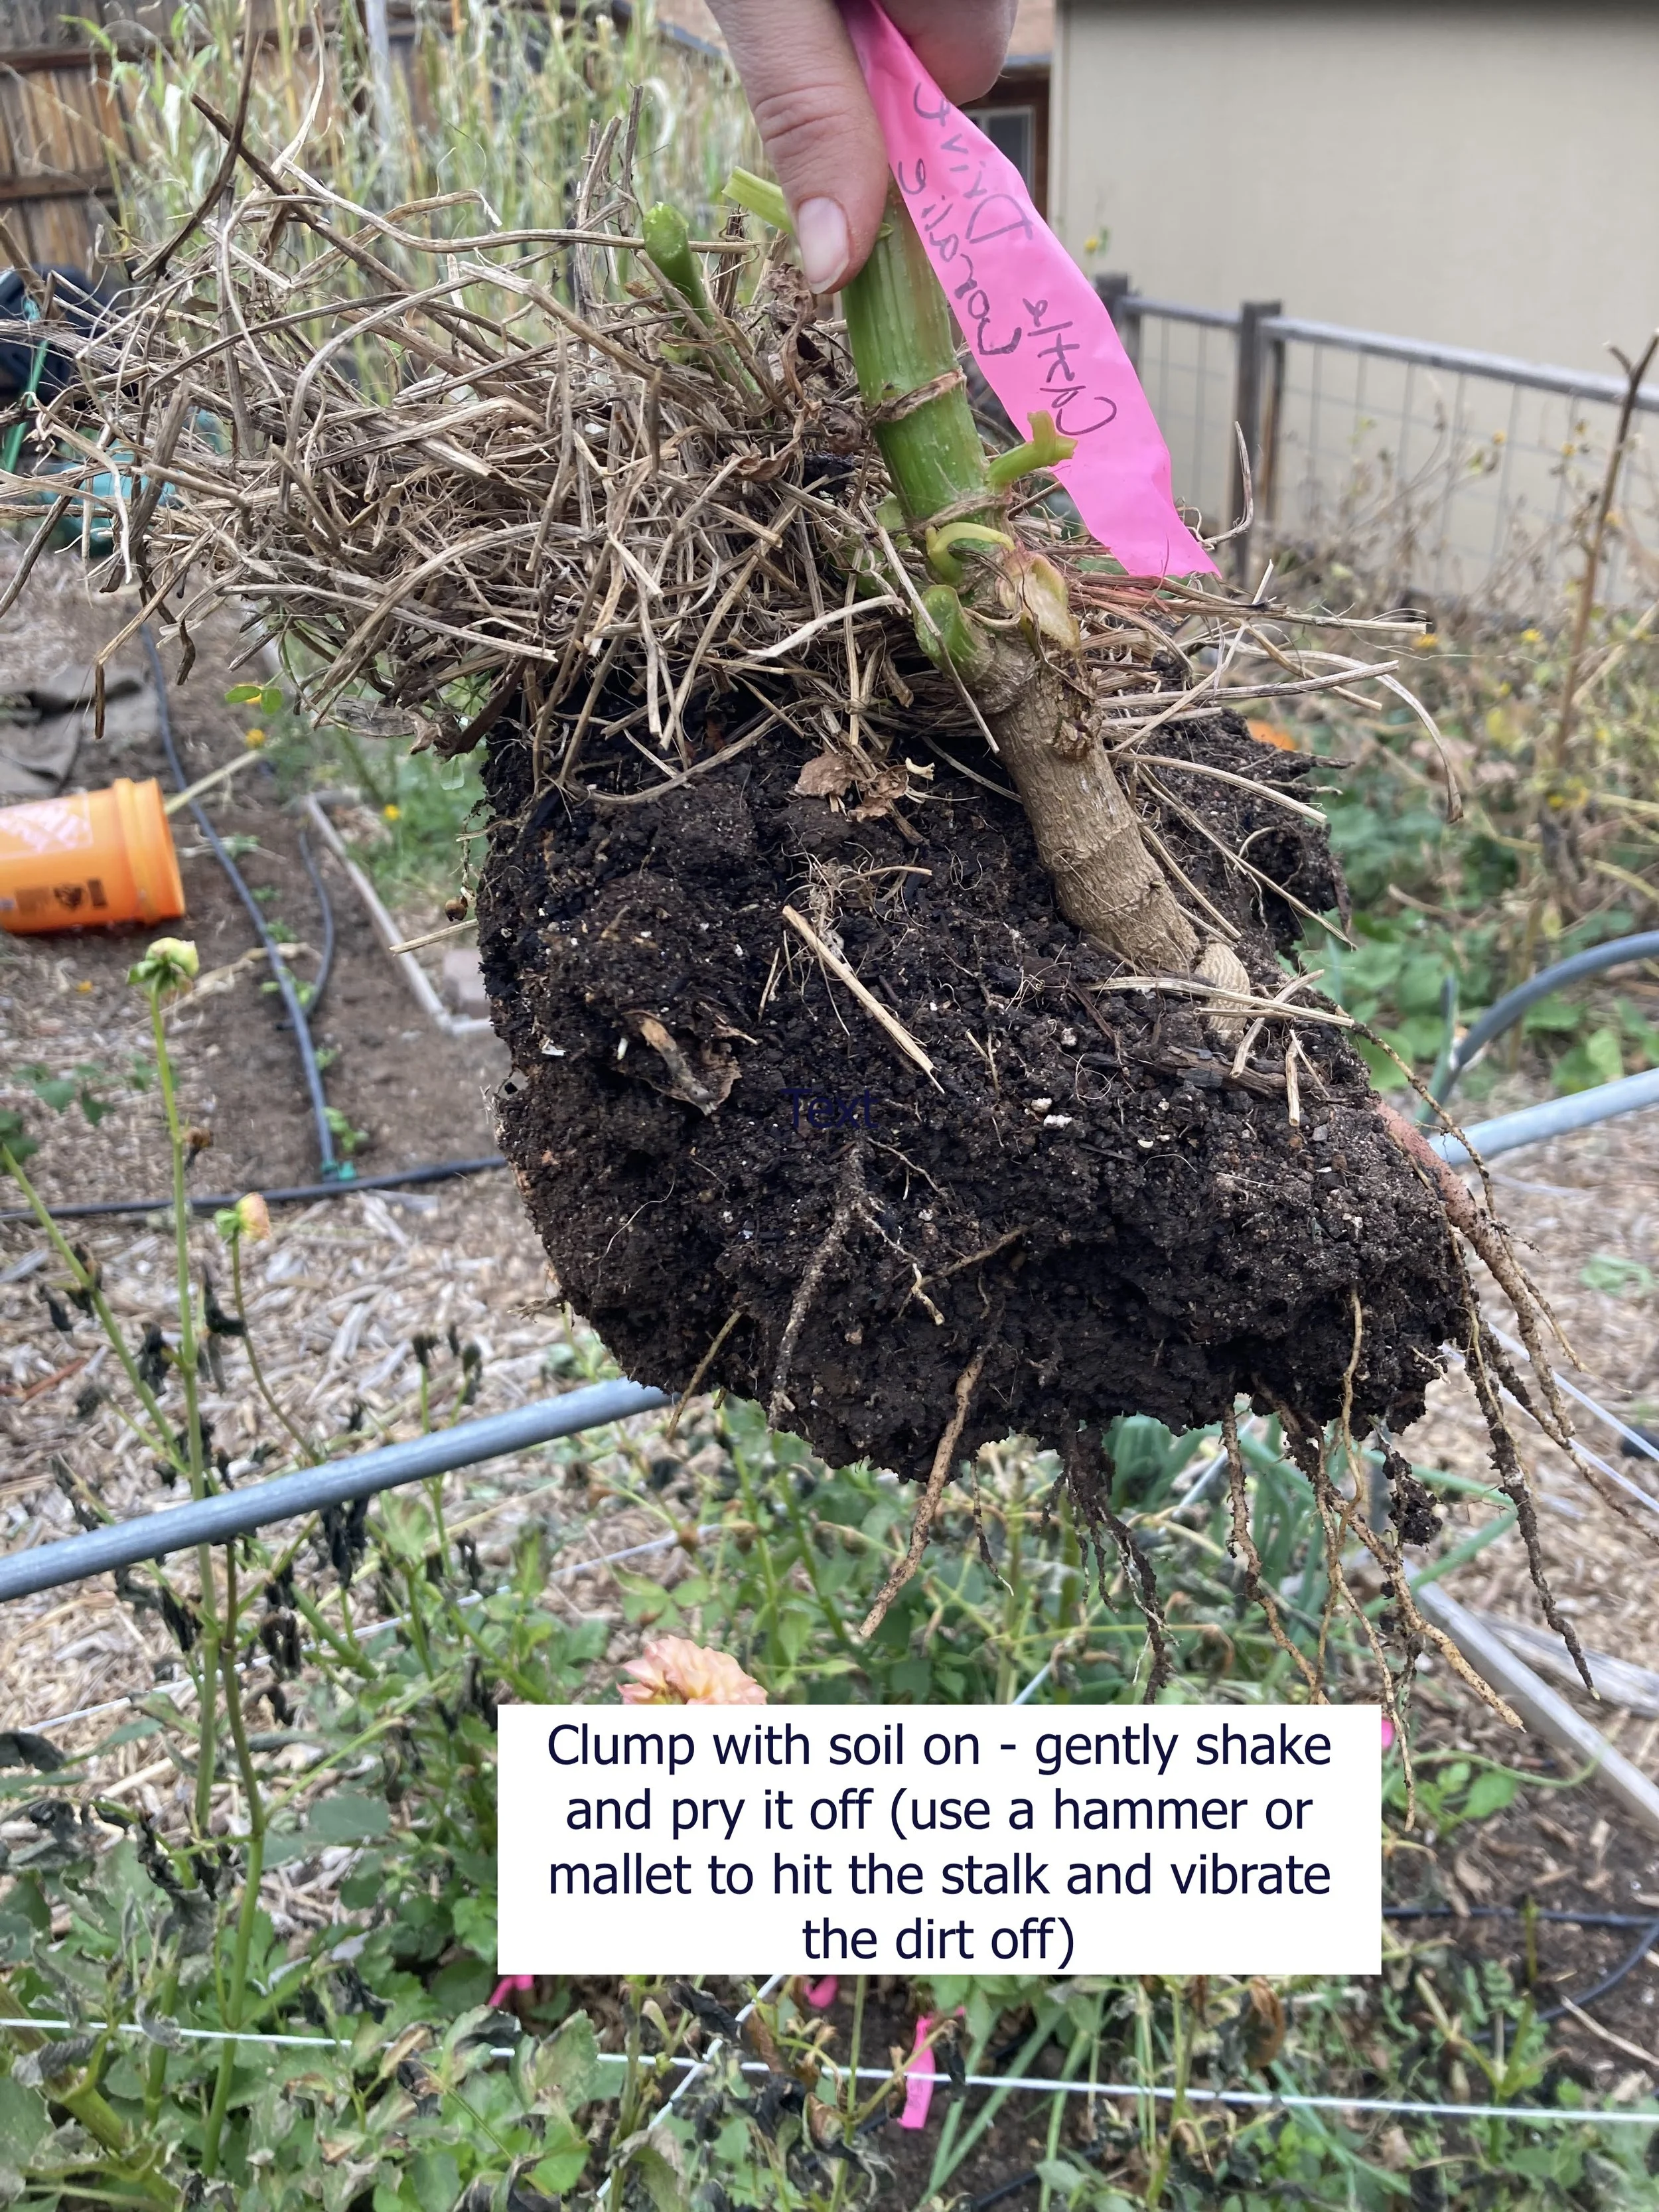
I already labeled mine with the variety name on flagging tape around the stalks when they had flowers on them. Labelling is not necessary unless you want to keep track of your different varieties.
Dig up the clump, trying to avoid pulling on it. Pulling it usually breaks the necks in our heavy soil. There was one year I felt like a geologist using a little brush to carefully extricate the clumps and not break any tubers because I wanted to keep them all to expand my patch. When the soil is too dry, it holds the clumps in like concrete and if it is wet, it sticks to them like clay. That was a dry year. NEVER AGAIN. Even I am not that patient.
Shake off all the dirt. I learned a trick this year where you can use a hammer to hit/vibrate the stalk and get the dirt to fall off. It worked OK even with our clay. I do NOT wash off my tubers, but many people do. There is good bacteria and stuff in the soil layer that can help them in storage.
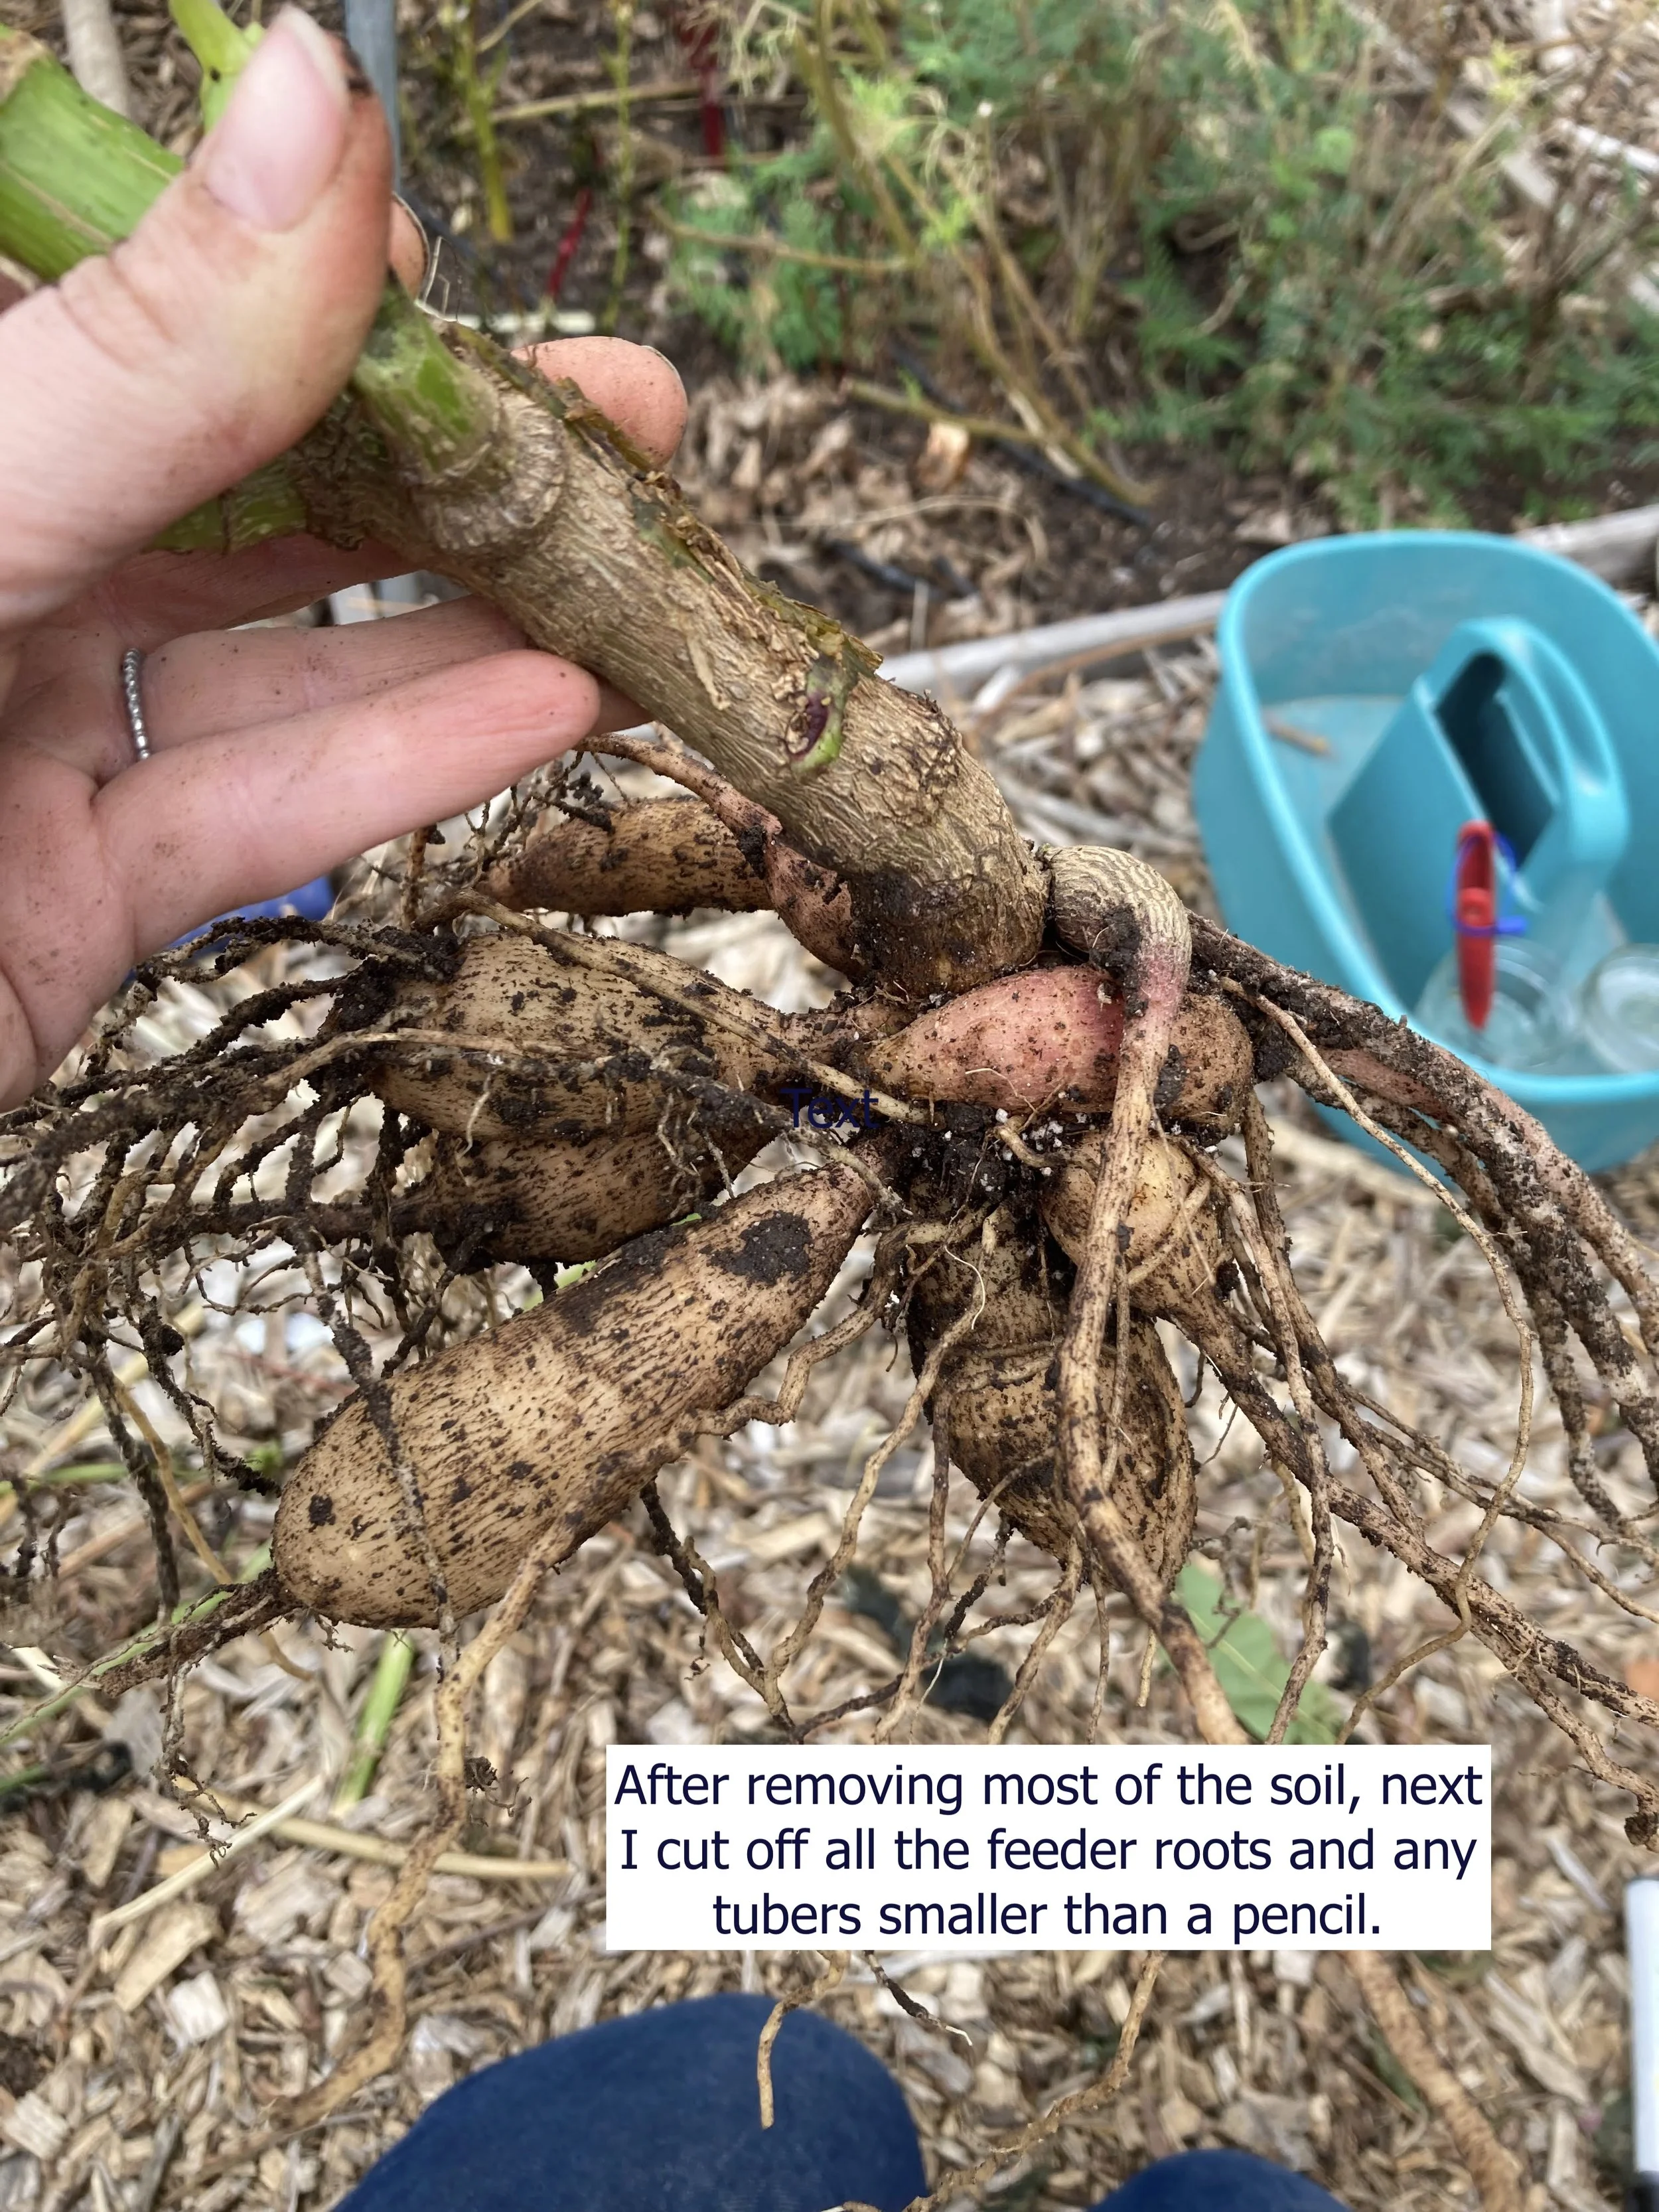
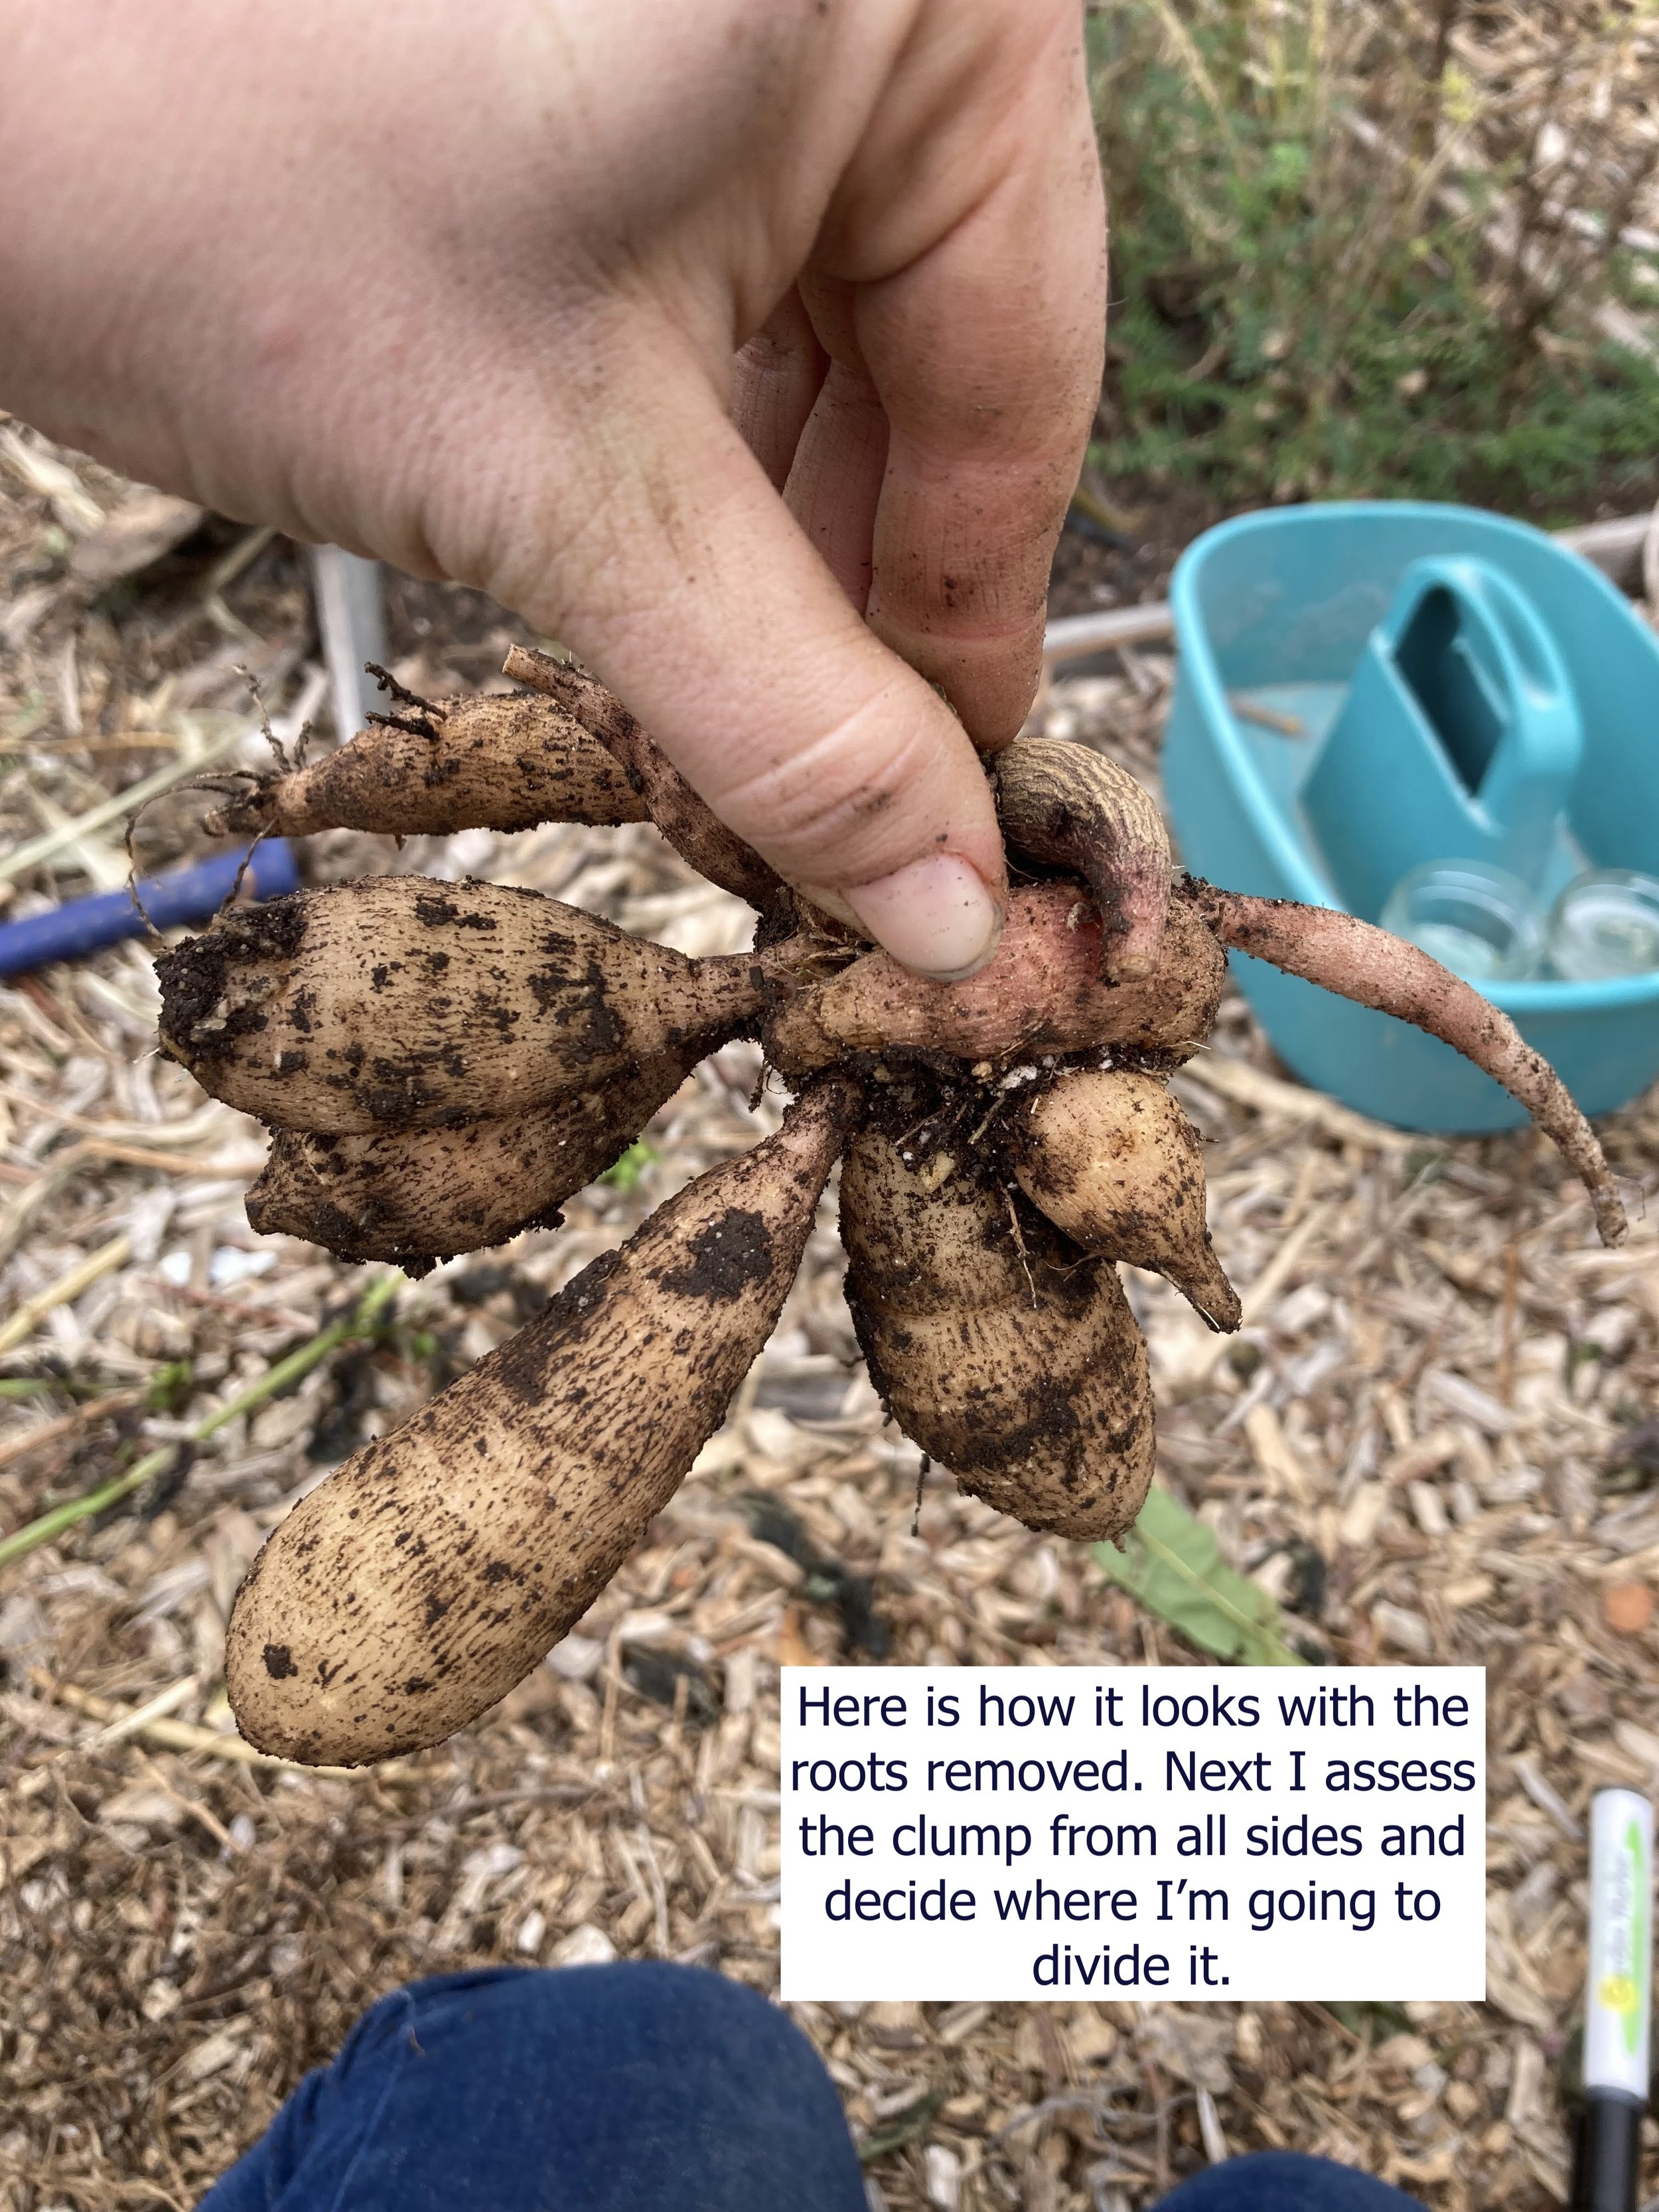
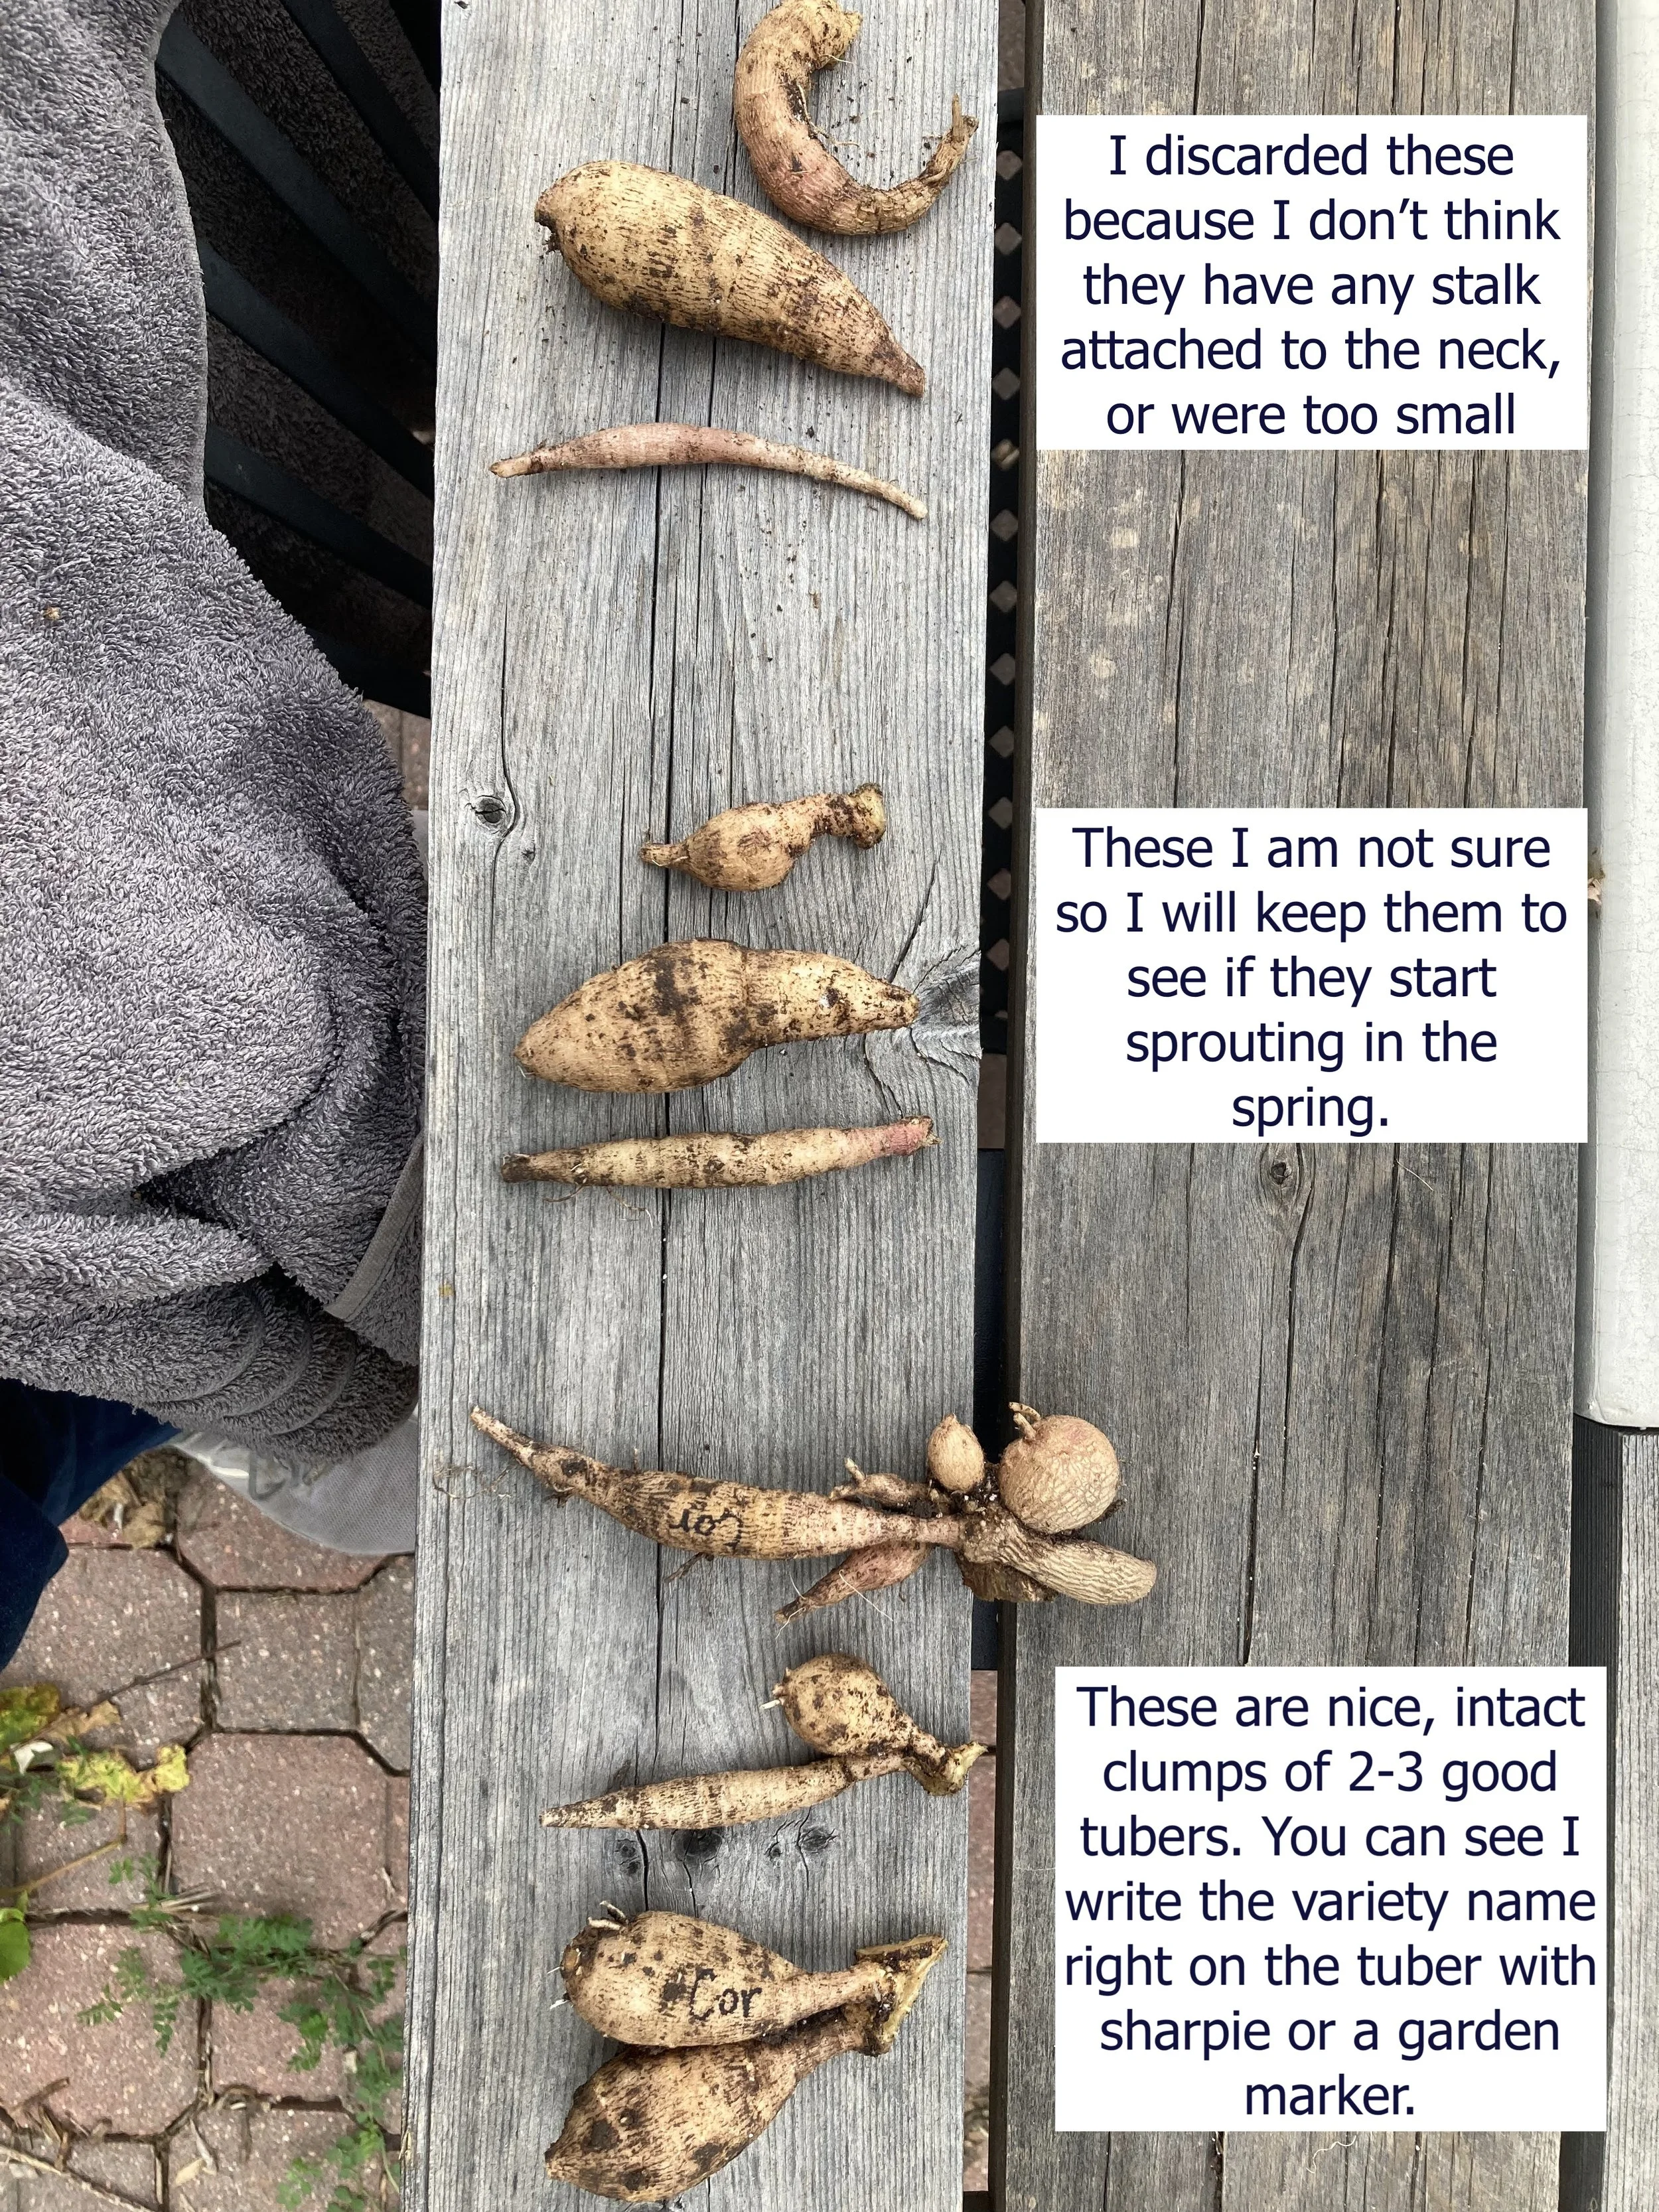
Cut off all the little roots, tubers smaller than a pencil, and tubers with broken necks.
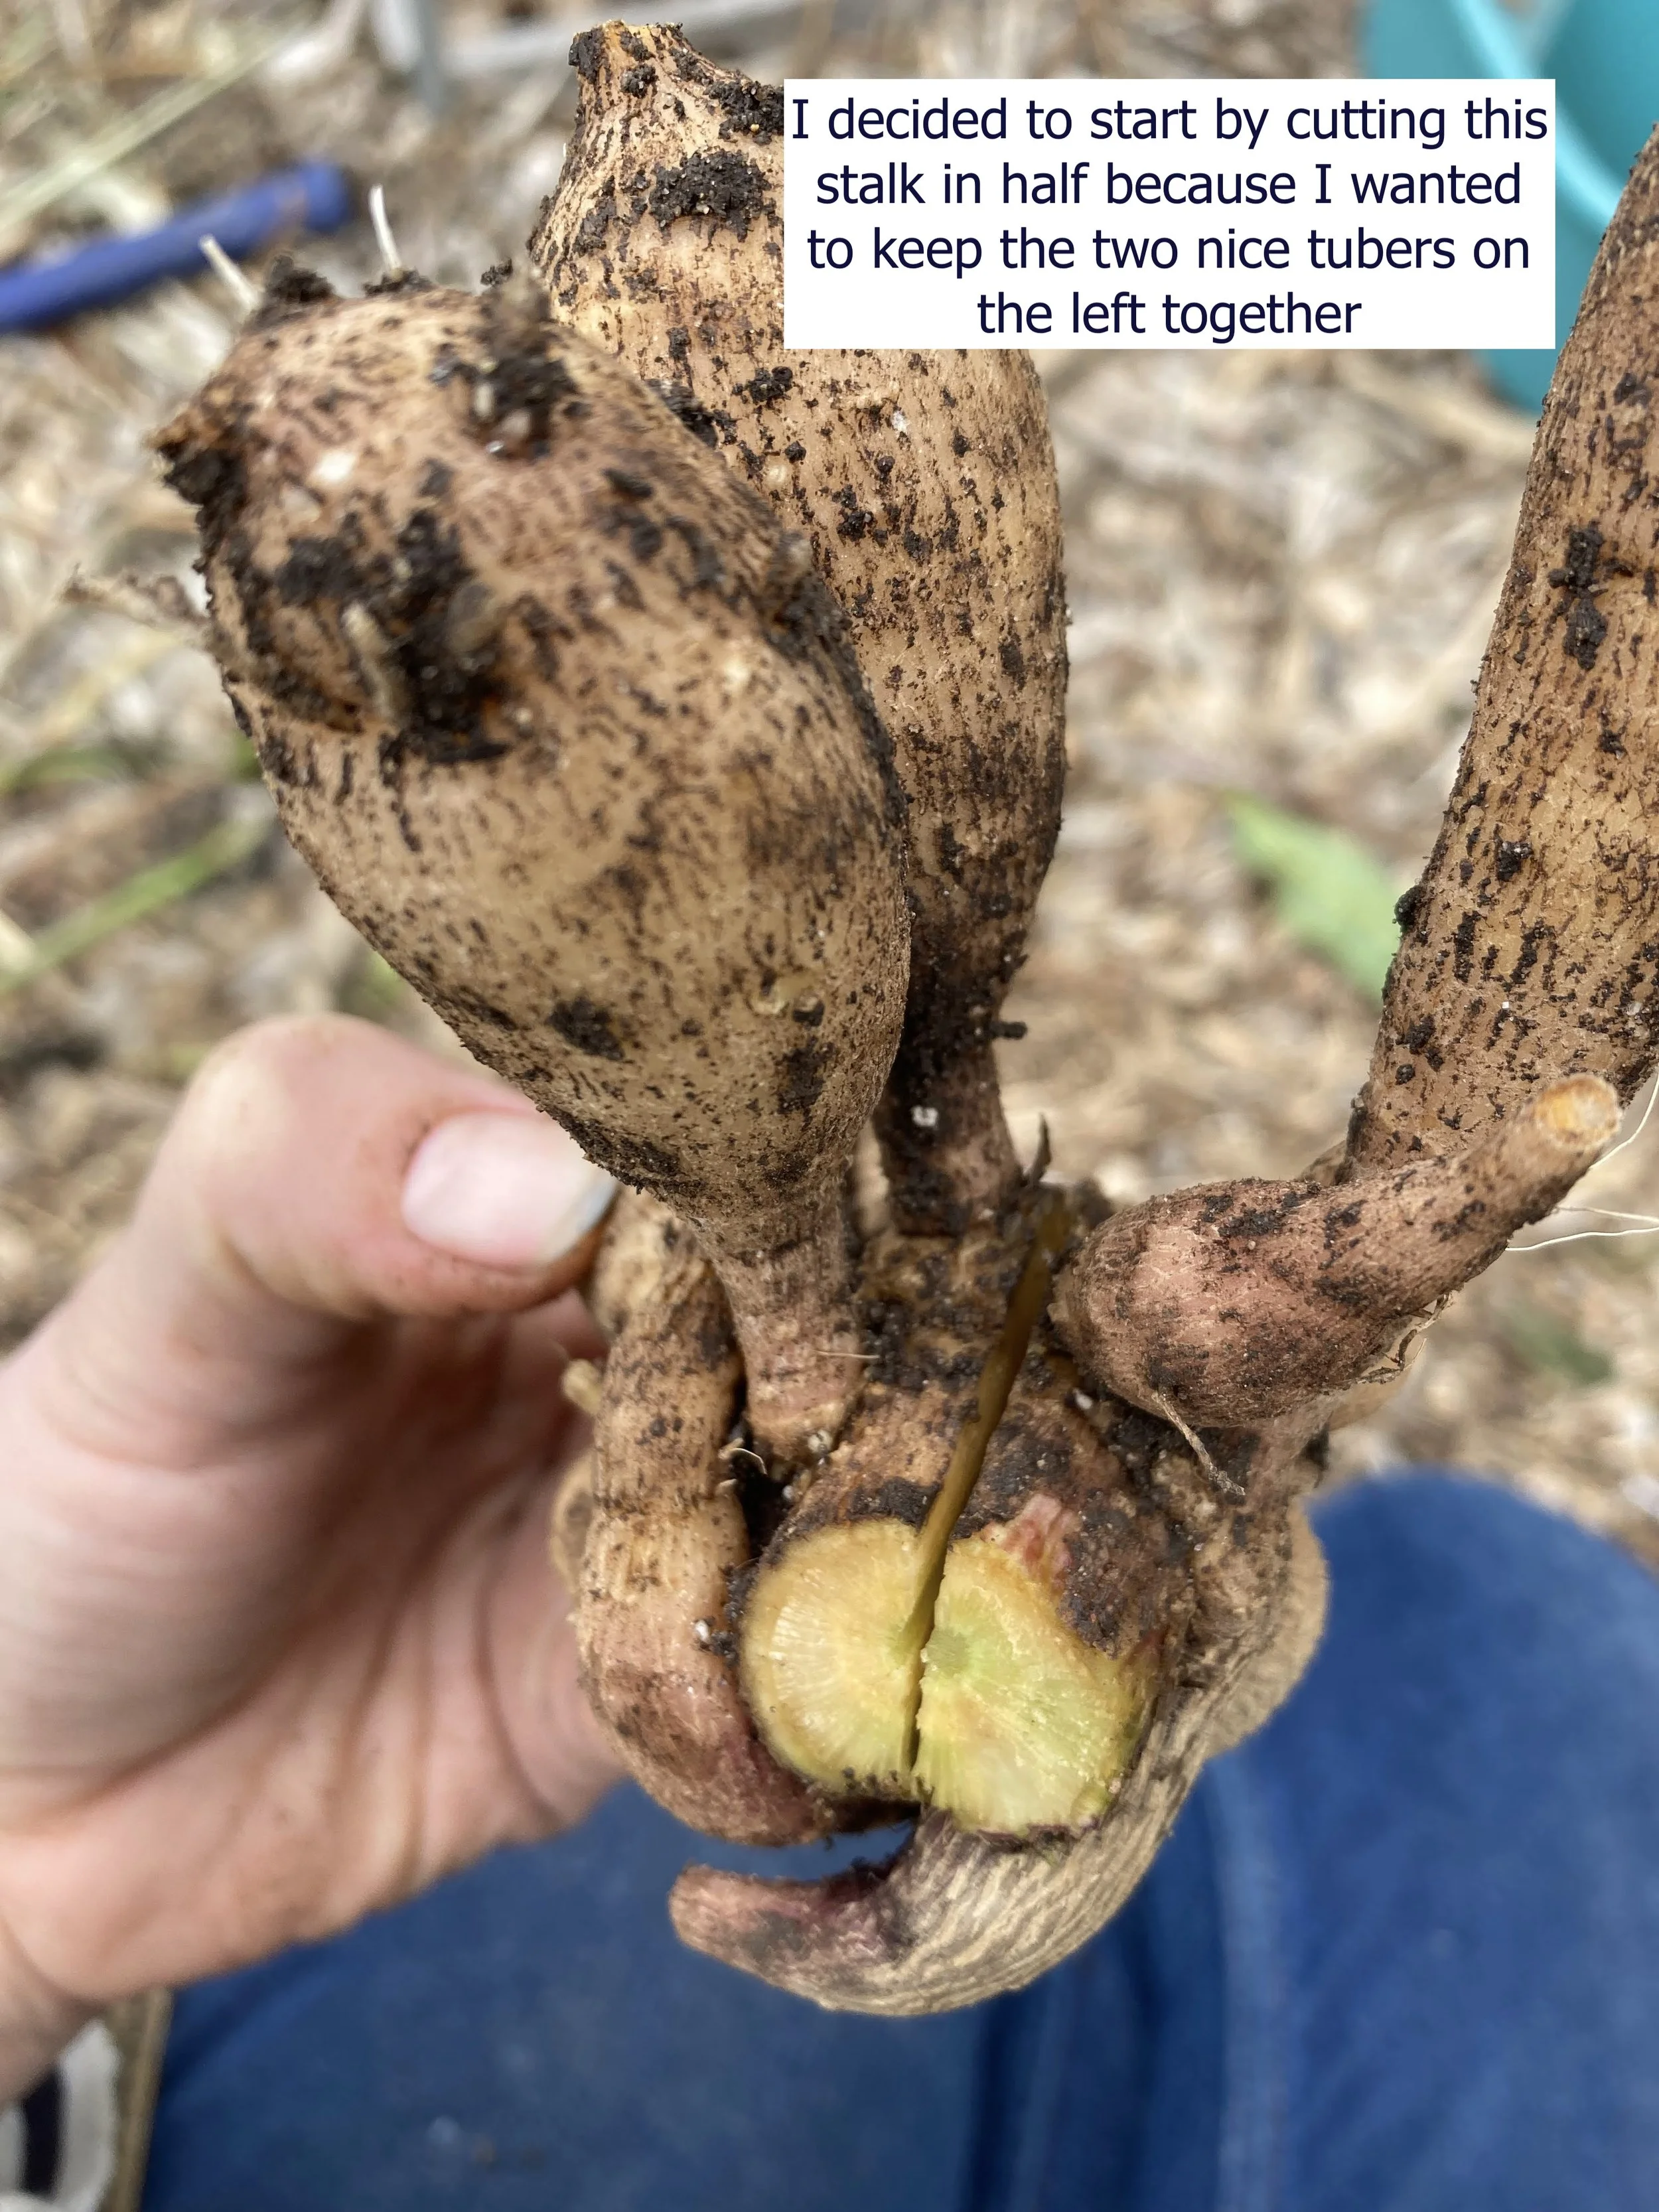
Assess the clump and decide on a division strategy (OR store the clumps whole until next spring). Division is more of an art than a science because they all grow so differently and so weird. To have a viable plant next year, each tuber needs to have a neck and an eye attached. To be honest, I'm not good at seeing the eyes at all. I just try to get a piece of the stalk attached to each neck. Watch the division video below for more about this.
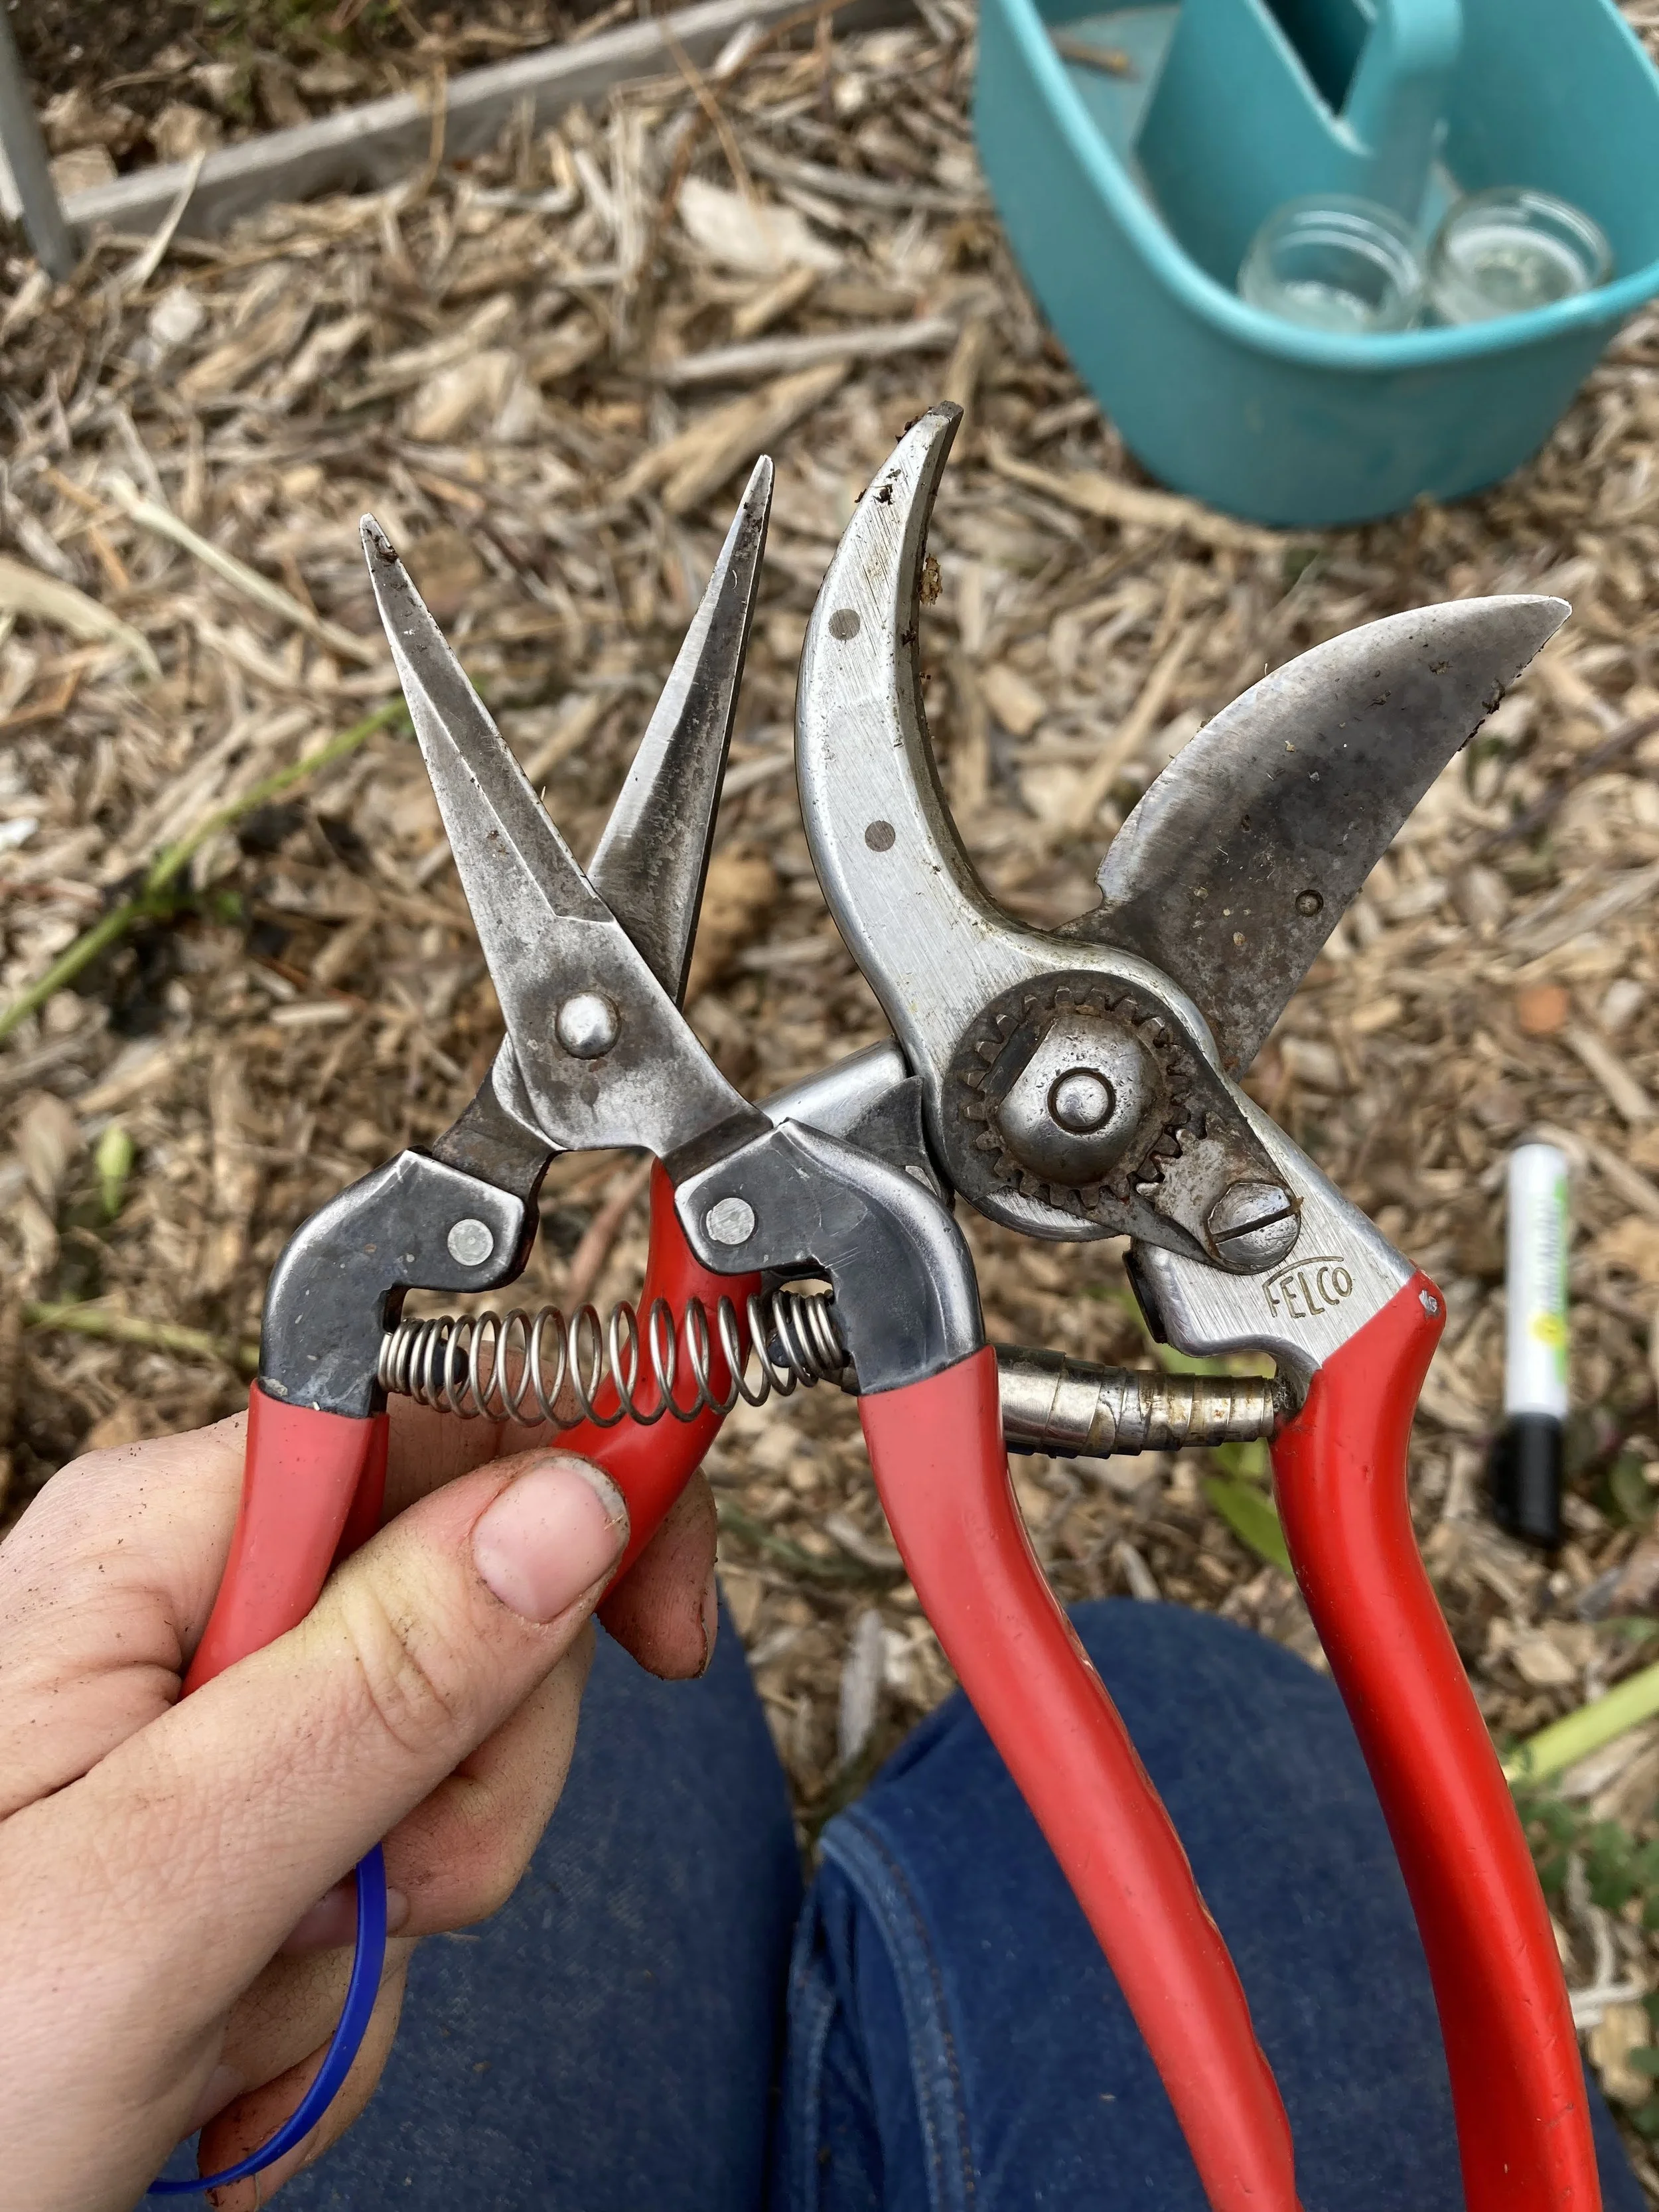
I recommend sharp pruners and snips for dividing, but you can use scissors and knives (be careful!). My recommended models will be in my gift guide coming in November.
Dividing into single tubers makes them easiest to store, but keeping 2-3 tubers together can result in a bigger plant next year. I prefer the latter.
It is recommended to sanitize your tools between clumps.
I let my cut tubers OR whole clumps dry out overnight. Do not leave them out for longer than 24 hours in Colorado or they will start to shrivel up.
This is the part many people struggle with - getting something that is basically a potato to keep all winter to plant next spring. If storage is too wet, the tuber will rot, and if it is too dry, it will desiccate. In Colorado, dryness is our typical problem. I have a very high success rate using vermiculite as a storage medium in gallon size ziploc bags. A large bag of fine vermiculite is $50 right now at the Home Depot, and it is infinitely reusable.
I dump some vermiculite into a container so that I can mist it and mix it up. You want it to feel BARELY moist. The vermiculite will retain almost all the moisture you add to it just this once.
I lay a gallon ziploc bag flat and try to make a flat-ish layer of tubers inside it. Then I try to fully cover those with vermiculite, filling all the air space with vermiculite. I leave the top of the bag half open because the tuber contains moisture that it may release when the temperature drops. I repeat this process of filling bags with all my tubers and make a stack of the bags.
Once I have a stack of bags, I sandwich the stack with my hands so I can turn them all upright and slide them into a cardboard box with no top. If the bags are tightly held up in the box, it prevents all the vermiculite from just falling to the bottom of the bags and exposing the tubers. The point of this method is that I am cheap and I just don’t want to buy (and store!) more vermiculite to fill bags that are just flopping about. If my method sounds fussy, just buy more vermiculite and throw your bags into a box :D
The ideal storage temperature is 40F, but my garage ran 60F last winter and they were fine. When the temperature drops, it lowers the humidity, and you might see condensation on the bags. That is too wet IMO, and I will fully open the bag tops for a few days so that excess water vents into the air.
Viable tubers will start sprouting in the spring in response to temperature and light. I usually see some in April up until the end of May. I do try to get them planted before the sprouts start growing out of the bags :D (early May at the earliest) but I don’t always, and they do fine! It’s OK if the sprouts break off when you’re planting them. However, if you really delay planting, it does increase the percentage of rotting tubers in my experience.
Some video references:
